
Trellis DIY Picture Frame
One of my favorite projects was the DIY picture frame we created to go into my mom’s dining room. It was so EASY! And it looks fantastic!
Note:
*This post does include some Affiliate Links, meaning if you decide to use the products I may receive a small commission at no additional cost to you.*
The Process
We started with a trellis from Home Depot, like this one-

If you aren’t near a Home Depot or Lowes, there’s this one on Amazon that looks to be similar and you wouldn’t need to cut anything (it is however, more expensive).
We cut off the ends so that it was just square, and then sanded and painted the entire trellis. Then we added some scrap wooden pieces in to break things up. We then painted it a solid color and then used a ‘white wash’ glaze over it.

We found specialty screws at Lowes that we used to then wrap the wire around to be able to hang the pictures on with mini clothes pins. You could also use something like this though-
This is nice because you get the wire, clips and hangers all in one package.
We then ordered some photos to be printed out and then clipped them right on! It makes it easy because when you want to change them out it’s easy to do and hassle free (as long as your remember to get the photos printed..lol).
In the center we happened to find a metal sign on clearance for $2.98 that fit perfectly. You could use a metal sign or also print out something decorative if you prefer on thick card stock. Hobby Lobby is a great place to find metal signs like this at a good price.
Here’s the completed project on the wall!
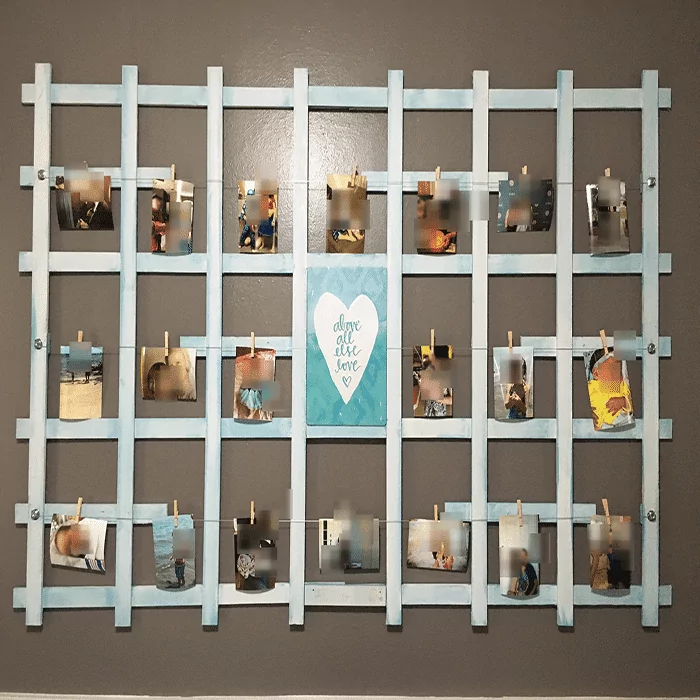
This is an easy to do picture frame and would also be a great gift idea for someone as well!
Want More?
See the DIY dining room chairs for a dining room makeover